Sending rules
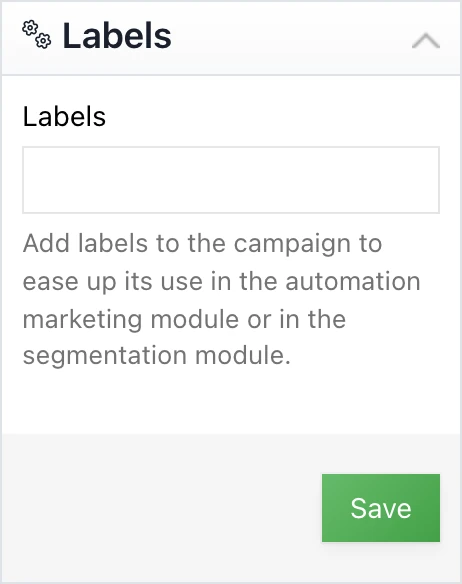
The first action to take in order to automate your reminders is to put a label on the basic campaign. This label will allow you to identify the campaign from which the reminders must be made.
When you are in your campaign, go to the “labels” part (on the right, below the parameters). Then write a label on it that will serve as a guide in creating the rules.

Then go to the Automation section (in the left menu) and then to “Sending rules”. Then create a new rule.
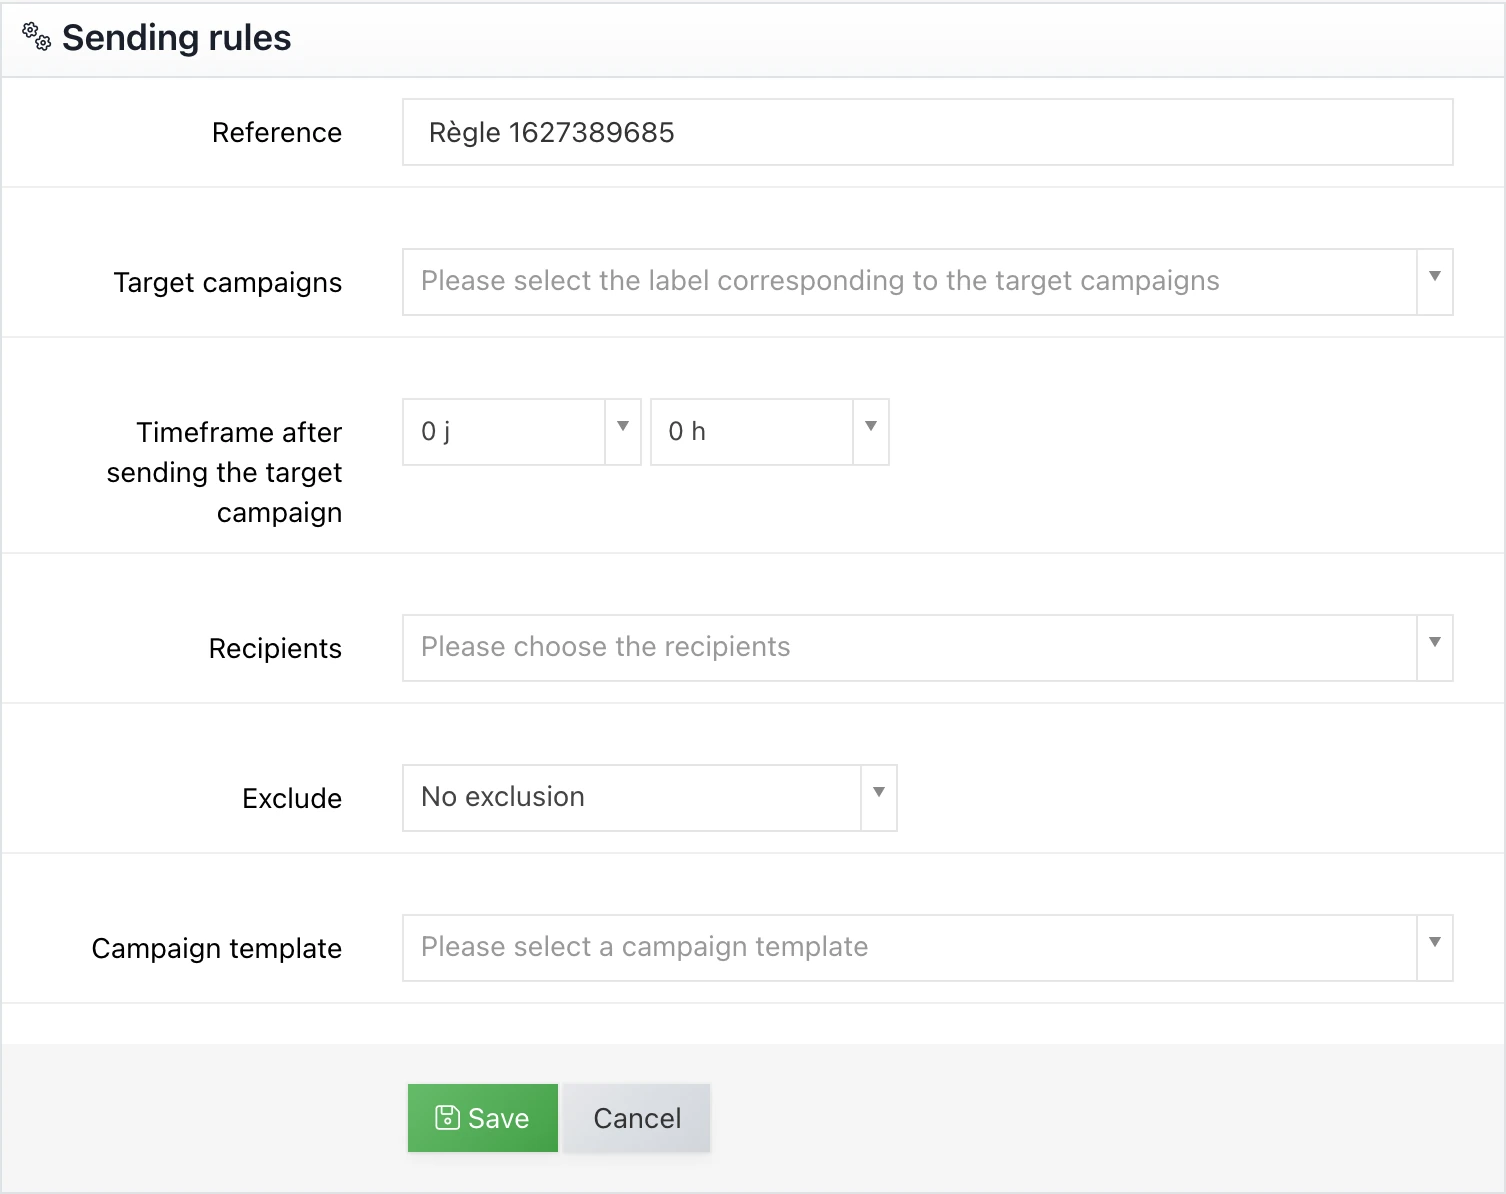
In “Target campaigns”, you must indicate the name of the label of your campaign chosen previously. Thus the software will know that when campaigns have this label, it will have to apply this sending rule.
The “delay after sending the target campaign” indicates the time that the software must wait before sending the reminders.
In the “recipients” section you must select the contacts according to their behavior: active, clickers, non-active, clickers on specific URL.
Finally you can choose to resend the same campaign or a new one.
When you choose to send a new campaign, it must be hosted in the Automation section.
The automatically sent campaigns will appear in the “sent campaigns” section, in the same way as the traditional campaigns. However, an additional mention will be present to indicate that it is an automatically sent campaign.
The elements of this page are included inthis video.
This post is also available in Français.